DDJ-SR
PADS
Pads (32) offer various functions, depending on the PAD MODE buttons. Each of the 4 PAD MODE buttons offers 2 individual modes (hold SHIFT and then press the PAD MODE button to access the additional mode). The modes represent a page of the PADS section on the default VirtualDJ GUI.
Hot Cue mode
Press the HOT CUE mode button to set the PADs to Hot Cue mode.
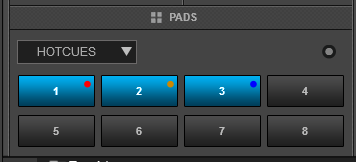
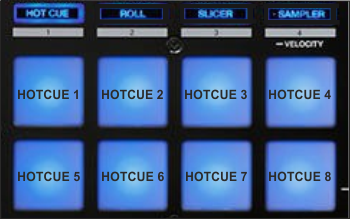
Each one of the 8 pad assigns a Hot Cue Point or jumps the track to that Hot Cue Point (if assigned).
When a Hot Cue Button is unlit, you can assign a Hot Cue Point by pressing it at the desired point in your track. Once it is assigned, the Hot Cue Button will light on.
Hold SHIFT and then press a pad to delete its assigned Hot Cue Point.
The PARAMETER buttons (31) jump the song to the previous/next assigned HotCue point.
Hold SHIFT and then use the PARAMETER buttons (31) to jump 1 beat backwards/forward.
Cue Loop mode
Hold SHIFT and then press the HOT CUE mode button to set the PADs to Cue Loop mode. The led of the HOT CUE button will blink to indicate this mode.
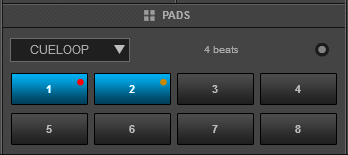
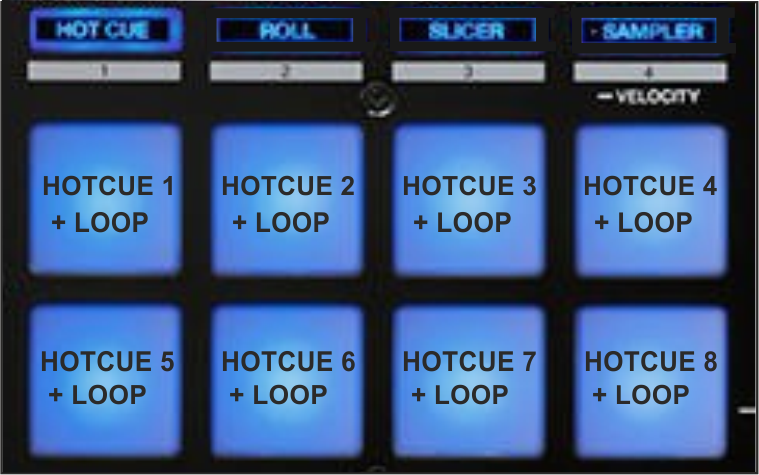
In this mode each one of the 8 pads assigns a Hot Cue Point or returns the track to that Hot Cue Point, but in both cases, it also triggers a Loop at that point (momentary or toggle depending on the selected mode from the Page menu).
Hold SHIFT and then press a pad to stutter/jump to the Hotcue (loop will remain triggered)
Use the PARAMETER buttons (31) to half/double the size of the triggered Loop.
Hold SHIFT and then use the PARAMETER buttons (31) to select the On/Off (Toggle) or Hold (momentary) Loop trigger mode.
By default the Cue Loops will be quantized. This can be turned off/on from the Page Menu on the GUI.
Loop Roll mode
Press the ROLL mode button to set the PADs to Loop Roll mode.
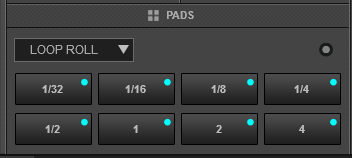
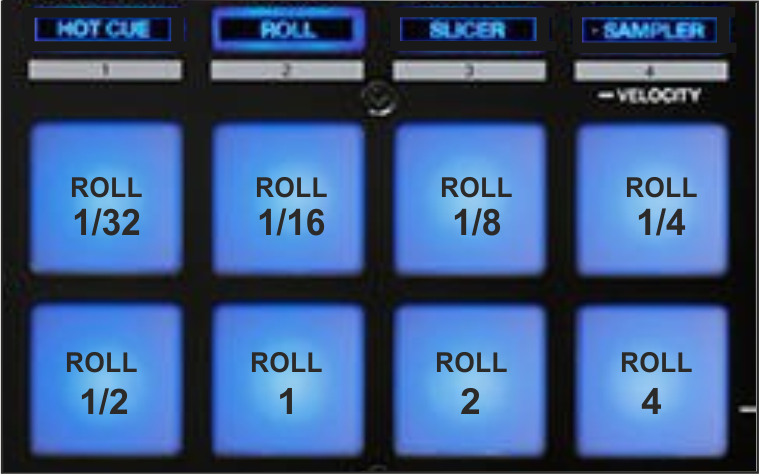
Press one of the 8 pads to trigger a momentary Loop Roll. Once the Pad is released, the track will resume playing from the position it would have been if the Loop Roll was never triggered. The exit point will be visible on the waveform of the VirtualDJ GUI with an additional “running” play marker.
Hold SHIFT to get a ½, ¾, 1 and 2 beats Loop Roll sizes for the 4 low pads.
Use the Page menu to apply the Loop Rolls to Video.
The PARAMETER buttons (31) are not used in this mode.
Loop mode
Hold SHIFT and then press the ROLL mode button to set the PADs to Loop mode. The led of the ROLL button will blink to indicate this mode.
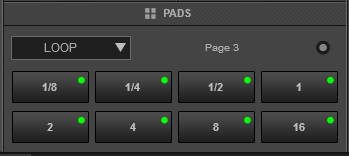
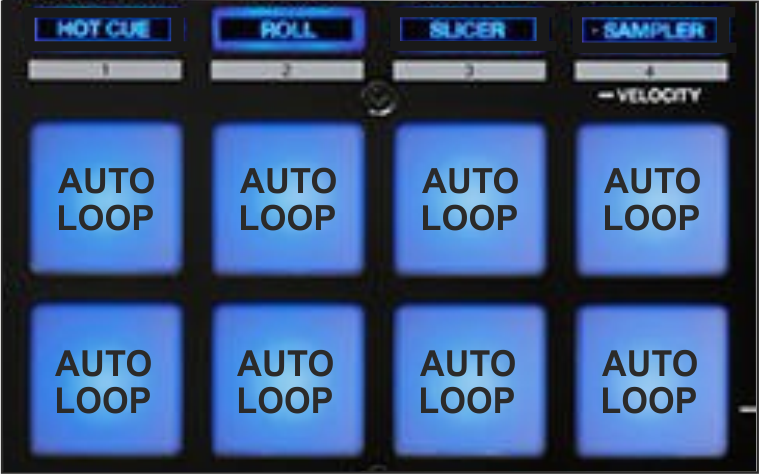
Press one of the pads to trigger an Auto Loop of a different size in beats, depending on the selected page. There are 6 different pages available with sizes starting from 1/32 up to 128 beats.
Use the PARAMETER buttons (31) to select the previous/next page with the desired Loop sizes
Hold SHIFT and then use the PARAMETER buttons (31) to change the behavior of the Loop pads, by selecting the On/Off (toggle), Hold (momentary – while pad is pressed) or the Roll mode (track will resume to the position it would have been once the pad is released)
Slicer mode
Press the SLICER mode button to set the PADs to SLICER mode.
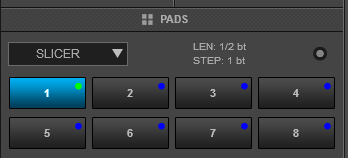
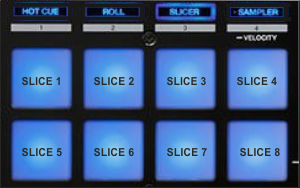
The 8 pads represent eight sequential beats—"Slices"—in the Beat Grid. The currently playing Slice is represented by the currently lit pad. The light will move through the pads as it progresses through each eight-Slice phrase. Press a pad to repeat that Slice (hold it down if you want to keep looping it).
Once the Pad is released the track will continue to play from the position it would have been if the pad was never pressed.
Hold SHIFT and then use the Pads to repeat the memorized Slices (the Slices played/repeated last time)
Use the PARAMETER (31) buttons to adjust the length of the Loop applied to the slice. Press SHIFT and then use the PARAMETER (31) buttons to adjust the step of the Slices
Sampler & Sampler Velocity mode
Press the SAMPLER button to set the PADs to Sampler mode.
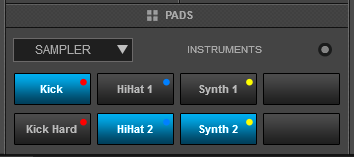
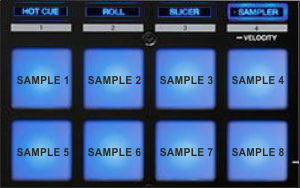
Each one of the pads triggers a sample from the selected Sampler Bank of VirtualDJ. If a bank has less than 9 samples, both sides of the DDJ-SR will control the same samples. If a bank has more than 8 samples, the left side of the DDJ-SR will control samples 1 to 8 and the right side samples 9 to 16. The PAD will be lit if a sample slot is loaded and will blink if triggered.
Press the pads to trigger a sample. Depending on the selected trigger Pad mode, use SHIFT and the same pads to stop the sample.
Use the PARAMETER (31) buttons to select the Sampler Bank (previous/next). Press SHIFT and then the PARAMETER (31) buttons to select the Trigger Pad mode (on/off, hold, stutter, unmute)
Press and hold the SAMPLER Pad mode button to set the PADs to Sampler Velocity mode. In this mode the Pads will additionally alter the Volume of the triggered Sample depending on the pressure (velocity).
Remix Points mode
Hold SHIFT and then press the SAMPLER mode button to set the PADs to Remix Points mode. The led of the SAMPLER button will blink to indicate this mode.
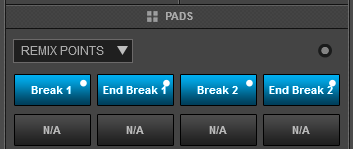
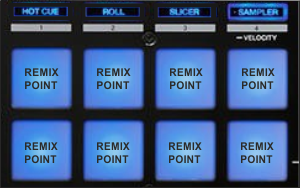
This mode offers the first 8 Remix Points of the loaded track. Remix Points are automatically defined from VirtualDJ, once the track is analyzed. Remix points can be managed from the POI Editor (more can be added/adjusted/deleted). They usually represent End/Start points of track’s blocks depending on the structure of the track and are always quantized when triggered.
The Remix points will be visible on the Song-position progress of the GUI (with white markers) once the Remix Points Pad page is selected.
Pad Plus


