RELOOP BUDDY

SETUP
Connections
Connect the unit’s USB socket with a USB port of your computer using the provided cable. Connect a pair of amplified speakers or amplifier to the RCA Master Output at the right side panel and a pair of headphones to the right side panel of the Reloop Buddy.
Put the left-side Source iOS/PC switcher to the PC position.
Drivers
Windows: Install the required Reloop ASIO Windows driver from https://www.reloop.com/reloop-buddy
Mac: No driver is required to be installed.
VirtualDJ Setup
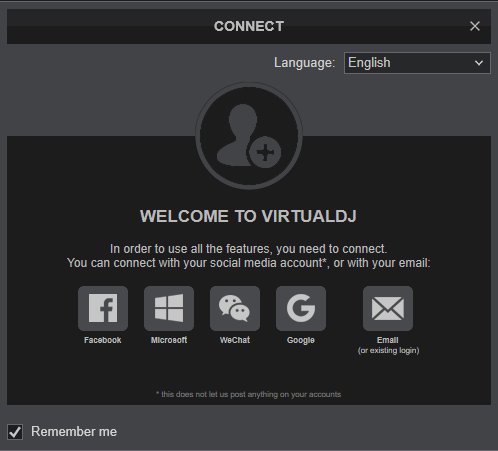
Once VirtualDJ is launched, a Connect Window will appear. Login with your virtualdj.com account’s credentials.
A Pro Infinity, a PLUS or a Pro Subscription License is required to use the Reloop Buddy. Without any of the above Licenses, the controller will operate for 10 minutes each time you restart VirtualDJ.
http://www.virtualdj.com/buy/index.html
Select “Buddy” and click OK
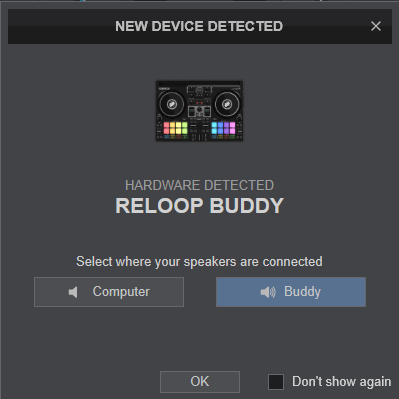
The unit is now ready to operate with VirtualDJ.
MIDI Operation
The unit should be visible in the MAPPING tab of Config and the “factory default” available/selected from the Mappings drop-down list.
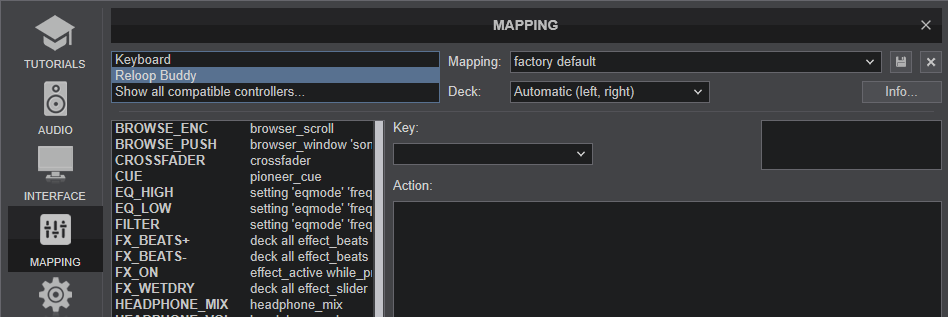
The factory default Mapping offers the functions described in this Manual, however those can be adjusted to your needs via VDJ Script actions.
Find more details at http://www.virtualdj.com/wiki/VDJ8script.html
AUDIO SETUP
The unit has a pre-defined Audio setup and a special button in the AUDIO tab of Config to provide that.
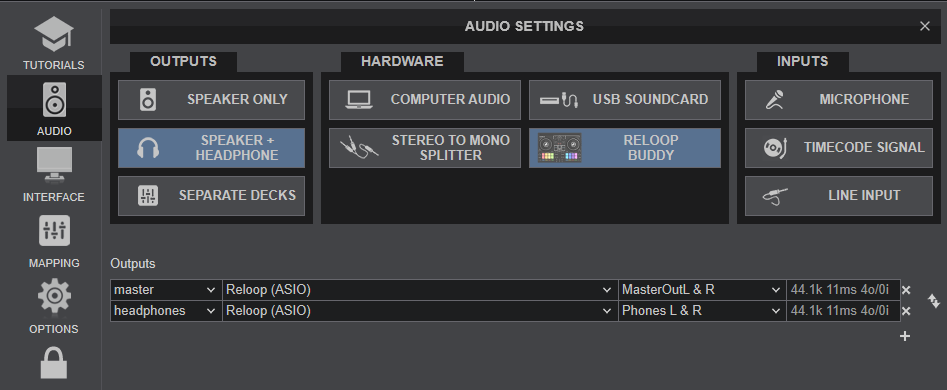
For further software settings please refer to the User Guide of VirtualDJ.
http://www.virtualdj.com/manuals/virtualdj8/index.html
CONTROLS

CONNECTION
KEY
ACTION
SHIFT (SECONDARY) ACTION
Jumps and stops to the Cue point when playing
Push to enable/disable the loop
Vinyl mode can be enabled/disabled from VirtualDJ GUI
Hold down the right SHIFT button and then use these buttons to select the previous/next Effect for the Right Deck.
Use the right-side PFL button to select the Modern Equalizer type.
When both PFL buttons are turned off, the Equalizer will be set to Frequency type.
See further details in VirtualDJ Manual
When the EZRemix EQ mode is selected, use this knob to adjust the BEAT Stem
When the Modern EQ mode is selected, use this knob to apply the KICK Stem
When the EZRemix EQ mode is selected, use this knob to adjust the INTRUMENTS Stem
When the Modern EQ mode is selected, use this knob to apply the MELODY/VOCALS Stem
When the EZRemix EQ mode is selected, use this knob to adjust the VOCALS Stem
When the Modern EQ mode is selected, use this knob to apply the HI HAT Stem
Push to toggle focus between Folders and Songs List.
Push to set focus to Folders list. When in Folders list, expand/collapse sub-folders
PADS
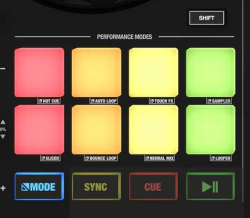
The Reloop Buddy offers 8 main and 1 secondary Modes for the Pads. To select one of the 8 main modes, hold down the MODE button and then press one of the 8 Pads.
While the MODE button is pressed, the Pads section in default VirtualDJ GUI will display the available preset pages.
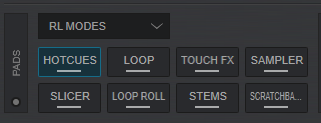
By default the 8 Main Pad modes are assigned to
Hotcues, Loop, Touch FX, Sampler, Slicer, Loop Roll, Stems and ScratchBank, but can be assigned to a different Page. See https://www.virtualdj.com/manuals/virtualdj/interface/decks/decksadvanced/pads.html#controller
Touch FX Page
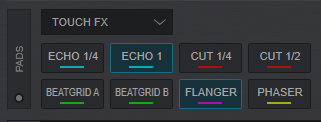
The Touch FX mode assigns Pads to a special Pads page (only available when the Reloop Buddy is connected) and can apply pre-defined Effects to the Left/Right Decks. The Pads trigger the Effect temporary if pressed for more than 1 second, or toggle (on/off) if shortly pressed. The pre-defined Effects can be changed by editing the Touch FX Pads page.
A secondary mode for Pads can be selected when holding SHIFT and pressing the MODE button. This mode has been assigned by default to the Custom Pad page.
