NOVATION LAUNCHCONTROL
SETUP
Step 1. Connections
Connect the Launch Control to a USB port of your computer using the provided USB cable.
Step 2. Drivers
No drivers is required to be installed. The Launch Control is a USB class compliant device and your Operating System will install the necessary drivers.
It is strongly advised to update the firmware of the unit to the latest version using the Launch Control Updater http://global.novationmusic.com/launch/launch-control/support-downloads
Step 3. VirtualDJ
Start VirtualDJ and login with your Account credentials. A Pro Infinity, Pro Subscription or Plus Novation Launch Control Controller License is required. http://www.virtualdj.com/buy/index.html
Detection Window
A detection window will appear when the unit is first connected with VirtualDJ, verifying proper connection.
Click to OK
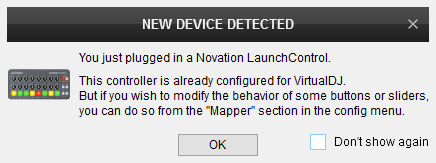
The unit is now ready to operate with VirtualDJ
CONTROLS
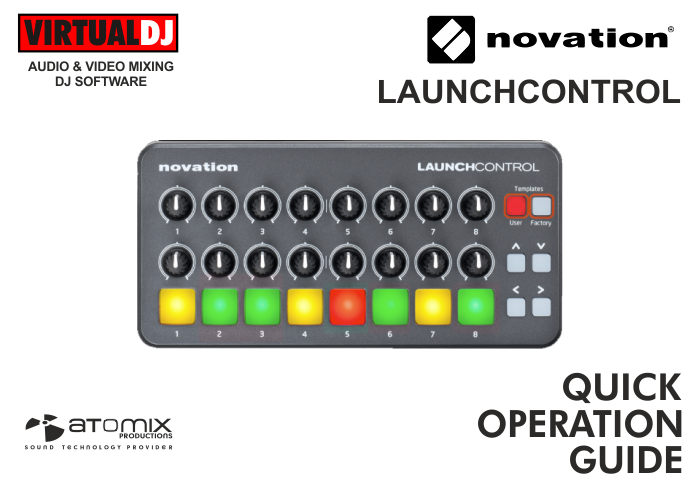
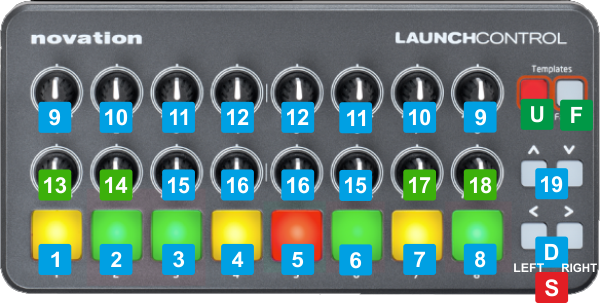
The LauchControl offers 8 Factory Templates plus 8 more User defined. To select one of the 8 available Factory templates, hold down the FACTORY button and then press one of the low numbered pads. The User Templates are selected by holding down the USER button and then press one of the low numbered pads.
KEY
ACTION
Only Factory Templates are pre-assigned to VirtualDJ actions. See Advanced Setup for User Templates.
FACTORY TEMPLATE 1 : EFFECT CONTROLS
F + 1 Hold FACTORY button down and then press the 1st Pad to select the Factory Template 1. The 1st Factory Template is selected/loaded by default each time VirtualDJ launches with the unit connected.
In this mode, the unit is pre-assigned to offer Effect, Video Effect and Video Transition Controls.
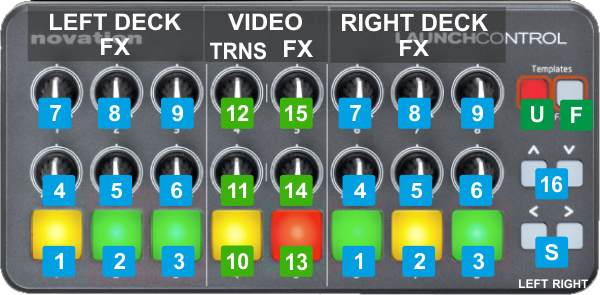
KEY
ACTION
SHIFT (SECONDARY) ACTION
Left button is assigned as Left Deck SHIFT and Right button is assigned as Right deck SHIFT
FACTORY TEMPLATES 2-8 : MIXER CONTROLS & PADS
Hold FACTORY button down and then press a Pad from 2 to 8 to select the Factory Template 2 to 8.
The top and bottom knobs offer Mixer Controls regardless the selected Template.
The 8 numbered buttons offer Pads actions depending on the selected Pad Page. Each time a Template is chosen, the related Pad Page will be automatically displayed in the Pads section of the VirtualDJ default skin.
F + 2 special NOVation DECKS Pad page
F + 3 Hotcues Pad page
F + 4 Loop Pad page
F + 5 Loop Roll Pad page
F + 6 Slicer Pad page
F + 7 Sampler Pad page
F + 8 BeatJump Pad page
KEY
ACTION
SHIFT (SECONDARY) ACTION
Use the Right button to assign the unit to control the Pads of the Right deck.
When a Deck is selected, press the same Left/Right button down to access secondary actions as described in the SHIFT ACTION column.
Left deck is sent to Headphones when in minimum/left position.
Right deck is sent to Headphones when in maximum/right position.
Both decks are sent to Headphones when in other middle positions
Send Master Output to Headphones when in maximum/right position
Send Decks that have PFL enabled to Headphones when in minimum/right position.
Blend the audio signal as above when in all other middle positions
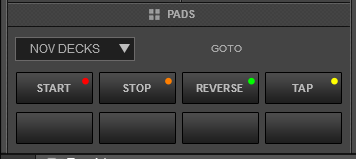
NOVATION DECKS PADS PAGE
When the Template 2 is selected, a special Pads Page will be displayed in the Pads section of the default VirtualDJ skin. This page will be available only if the unit is connected.
The page offers basic Deck Transport Controls for both Decks

ADVANCED SETUP
The Novation Launch Control offers 8 Factory Templates (Layers) which are pre-defined and pre-assigned in VirtualDJ factory default mapping. The unit also offers 8 additional User Templates which can be used to assign custom VDJ Script actions. Those are already pre-defined in the factory mapping files, but you need to make sure the User Templates are reset to default settings.
How to :
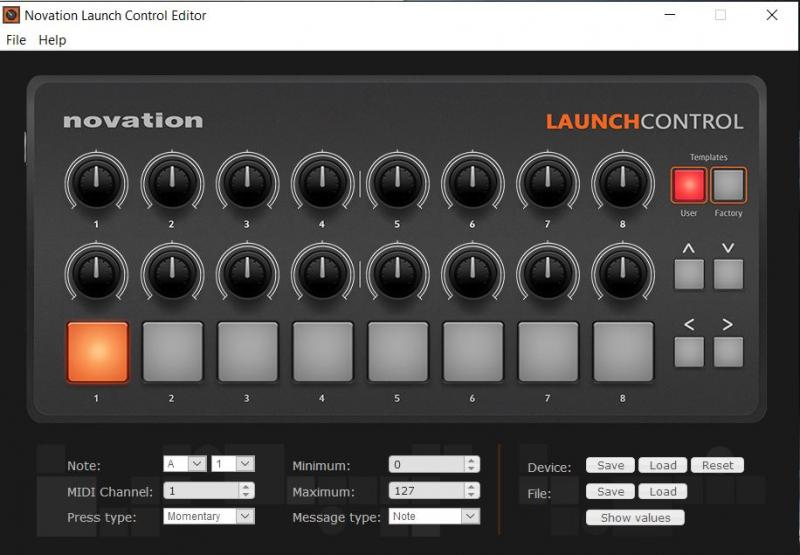
- Download and install the Novation Launch Control Editor from : https://global.novationmusic.com/launch/launch-control/support-downloads
- Use the Load button to select one of the 8 User Templates from the drop-down list
- Click to Reset
- Save the changes to the Template
- Repeat steps 2 to 4 for all 8 User Templates
- Save changes to the unit and Exit Editor
Once the unit is reset to the default settings for the User Templates
- Open VirtualDJ and goto the Controllers tab of Settings
- Select the Novation Launch Control from the top;left list
- Hold the USER button down and then one of the 8 numbered buttons to select a User template (from 1 to 8)
- Press or move a button or a knob.
- You should be able to see the name of the Key in the Key Learn section. E.g. PAD5_UMODE6, means the 5th Pad in User Template 6.
- Use the action field to assign a VDJ Script action.
Read further details for :
VDJ Script : http://www.virtualdj.com/wiki/VDJ8script.html
How to assign a button : http://www.virtualdj.com/manuals/virtualdj8/settings/controllers.html

